Showing posts with label Piper Clipper Restoration. Show all posts

Sunday, October 7, 2012

Assembly Day


We arrive, eager to assemble as much of Mellow Yellow as possible.  This day has been a long time coming, and we know that even after today there are myriad tasks before we get in the air (notice the covering where an engine should be?)


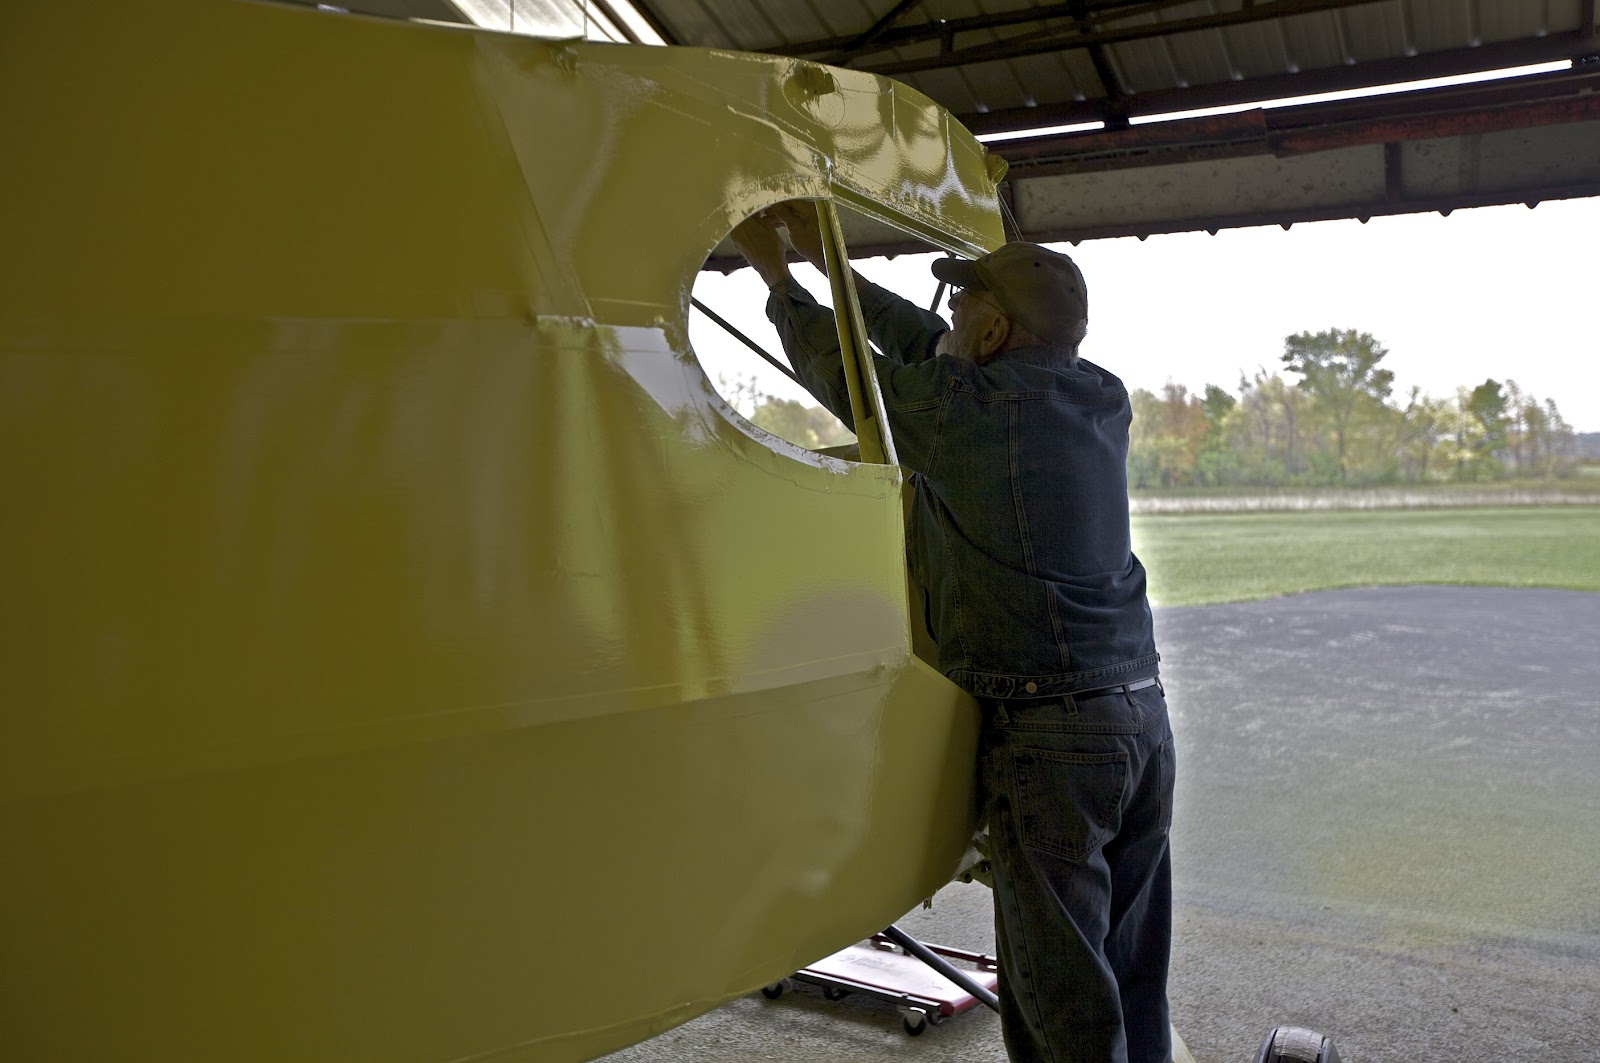
There were many small fasteners and cables to rig, and the wings,
struts and fuselage had to be moved outside for easier assembly.


And then it was time to "move 'em out!" Well, not exactly a rodeo; we carefully, slowly escorted the parts outside into the daylight. It was a perfect day, temperature fine, breezes slight (Tom Damico did point out though that all 3 windsocks were pointing in different direction.)


Bob, Tom G, Tom D and Nick escort a wing
Struts are carefully laid out


Wings, struts, fuselage arranged for assembly. To be continued..

Photos and text by Kathleen Jacques.

Thursday, October 4, 2012

Mellow Yellow


Meet Mellow Yellow! Photo by Tom.

We wondered if this day would ever come. Tom and I also wondered what color was waiting for the Clipper, since Nick was keeping it sort of secret (as in: he bought the paint so long ago his memory wasn't cooperating).  Then painter extraordinaire Bob Oxford arrived one recent morning and "let there be paint!". Bob makes it look easy. I've seen another plane that Bob painted and it was breathtakingly beautiful; the man doesn't disappoint. Just wait until he paints the stripes!

That's Bob with Nick last winter, planning and joking.
 Sure, it all looked like fun back then. Until the heavy-duty respirators went on.


The above three photos show the silver and white undercoats that had been applied prior to the final yellow. It had been an ordeal applying these coats because the paint sprayers, including a newly purchased one, malfunctioned.  Worse than malfunctioning, the sprayers caused mayhem, uneven spraying, clogging, choking off. It was so frustrating, but it makes the sight of Mellow Yellow, oh so sweet. Thank you Bob!

Ready

Set

Fly!
Photos and text by Kathleen Jacques.

Monday, September 3, 2012

Hi Ho Silver


Paul came to mow NK71's runways and taxi areas when the "Tin Man" (aka Piper Clipper) caught his eye. At last Nick and Tom have gotten to this stage, after being delayed and dismayed by technical problems such as malfunctioning spray paint guns, etc. (sound familiar readers?) Your guess is as good as mine as to what Paul was trying to illustrate to Nick: "the runway grass is this tall - about right?", or maybe "I hear you guys have layers of Poly-Tak/Brush/Spray this thick - isn't it time for the color now?"

See the orange Poly-Brush through the silver Poly-Spray?
At least two more cross-coats of silver are needed.
Now notice the difference one more cross-coat of Poly-Spray makes.
And still at least one more cross-coat of silver will be applied. 

Nick explained that the Poly-Spray protects the fabric from the sun's ultra-violet rays that would otherwise quickly deteriorate the fabric. But the silver color? Why silver? It isn't just any old silver "color" according to Nick.

According to the Poly-Fiber website: "The best blocking agent against the ultra violet rays of the sun is aluminum pigment. We take the same formulation of Poly-Brush and add aluminum pigment to it. It sprays on just like the spray coats of Poly-Brush. Silver is another term for the Poly-Spray coats. Some people refer to the aluminum coats as silver coats."


There's something about that matt silver coating that does seem substantial and solid. It still seems odd though that you have to "wet sand" the silver to eliminate the now visible imperfections.  Even weirder to me is that you iron out the protruding pinked tape ends and other minor rough spots through a piece of teflon. 


The silver coating has a way of highlighting little imperfections that escape your attention in the prior orange Poly-Brush stage.  


While Nick was working, a noisy helicopter decided to practice some maneuvers right outside the hangar doors. Nick, as usual, kept working.


One man's "tunnel vision"; another man's determination to get this baby in the air! 

Photos and text by Kathleen Jacques.

Monday, August 13, 2012

Landing Gear Grapple


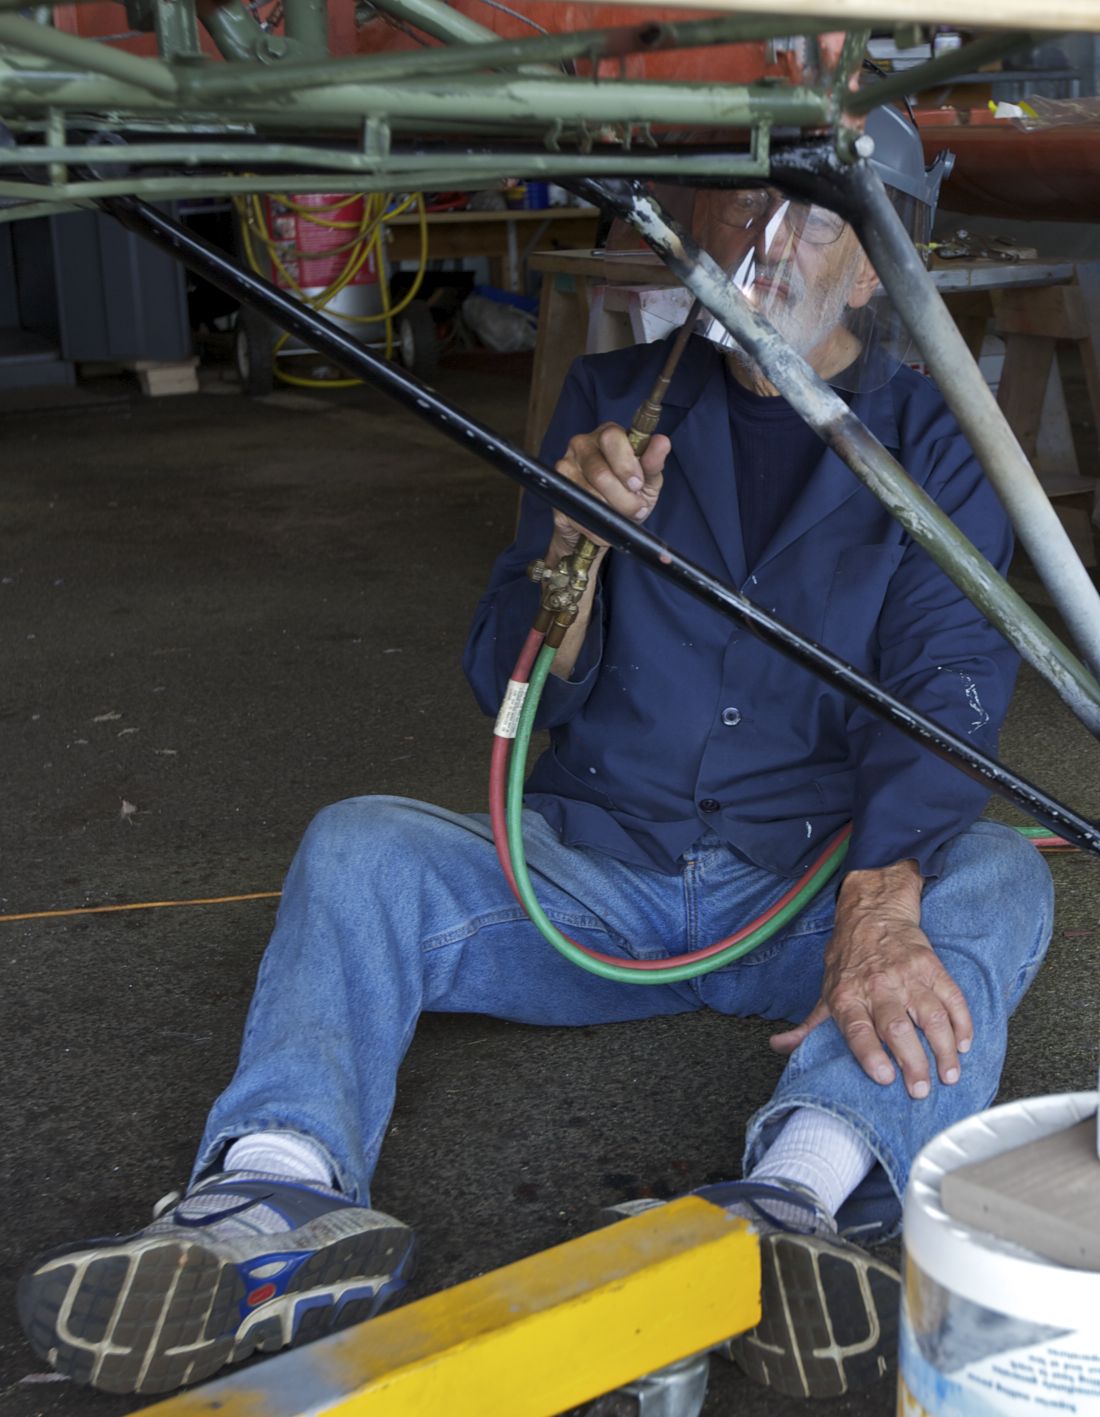
I thought about calling this post "Wrestlemania", but the synonyms for "wrestle" describe Nick and Tom's efforts so well that any of them will work: grapple, rassle, scuffle, tussle. The left side landing gear had prior undocumented damage and somebody had welded a repair, and now the gear didn't align with the frame and the connecting bolts wouldn't fit. Here's what happened when a "simple" job turned ugly.


No amount of jiggling or muscle could get the bolts in. The landing gear frame would have to be manipulated with heat to slightly change its alignment. 


Nick explained that the metal leg had to be heated all the way around its diameter in order for the metal to yield ever so slightly. 


I can't speak for Tom, but as I watched Nick, I wondered how in the heck heating the landing gear would make it more "pliable", enabling the bolts to connect to the frame. Tom never doubted, or at least never owned up to any doubts. Tom knows that Nick has restored many airplanes, and Nick just doesn't quit (or is it that he never knows when to quit...). Faced with a technical problem, Nick ponders. It might take a day or two but the answers come to him, and the project advances.


Throughout the heating process Nick reminded us how hot the metal was and to stay clear. Can somebody tell me which is hotter: "red hot" or "white hot"?  The landing gear was "white hot" and were it not for Nick's warnings, I probably would have walked into it or touched it or something; it didn't look sinister. 


It wasn't sinister at all and the heating method worked! Now everybody's mood can cool along with the metal... Problem solved.

Photos and text by Kathleen Jacques.